


How to Prepare for Corporate Headshots in 2026
Table of Contents
- What to Wear for Corporate Headshots
- How to Pose for Corporate Headshots
- Hair, Skin, and Grooming Prep
- How Long Does a Corporate Headshot Session Take
- Mental Preparation and Confidence
- Common Mistakes to Avoid
- Your Headshot Prep Checklist
- Frequently Asked Questions
Last Updated: September 7, 2026
What to Wear for Corporate Headshots
Wardrobe selection is the single most consequential decision you will make before your session. The right outfit signals competence before you speak; the wrong one undermines your authority. Beyond the basics of solid colors and avoiding busy patterns, the most effective preparation accounts for your specific industry’s visual culture.
Industry-Specific Wardrobe Guidance
Conservative fields (legal, finance, banking, insurance): The uniform is a dark or mid-tone suit with a crisp, white or light-blue shirt. A tie is expected for men; women should opt for a tailored jacket with a modest neckline. The goal is to blend in with the established visual hierarchy of the profession. Avoid anything fashion-forward; your portrait should look current for a decade, not just this season.
Creative and technology fields (marketing, design, software, media): You have more latitude, but the portrait still needs to read as professional. A structured blazer over a simple crewneck or a collared shirt without a tie works well. Color can be more expressive, muted jewel tones like forest green, burgundy, or deep teal photograph beautifully and convey approachability. Avoid graphic tees or overly casual hoodies unless your company’s brand explicitly embraces that aesthetic.
Client-facing roles (consulting, sales, healthcare): Your portrait must build instant trust. Mid-tone blues and grays are your safest bet. A blazer or structured cardigan over a solid top reads as competent and warm. For women, a simple necklace or scarf can add personality without becoming a distraction.
Fabric and Texture: The Overlooked Variable
The fabric of your clothing matters as much as the color. Heavy textures like thick cable-knit sweaters or nubby tweed can add visual bulk and create unflattering shadows under studio lighting. Conversely, ultra-shiny fabrics like satin or certain silks can create hot spots that wash out your face. The ideal fabric is matte with a smooth, tight weave, think cotton poplin, fine wool, or a crisp linen blend.
The Rule of Three for Color
A practical mechanism for choosing colors is the “Rule of Three.” Your outfit should contain no more than three distinct color families. For example, a navy suit (one), white shirt (two), and a burgundy tie (three) works. Adding a pocket square in a fourth color breaks the harmony and creates visual clutter. This rule keeps the focus on your face, which is the entire point of a headshot.
Bring two complete outfits to your session. The first should be your primary choice based on your industry. The second should be a step more casual or more formal, giving your photographer options if the lighting or background clashes with your first choice. Your photographer can advise on which reads better on camera.
The Background Interaction
Your wardrobe must work with the backdrop, not just your skin tone. If your photographer uses a white or light-gray background, avoid white shirts without a jacket or colored layer, you will blend into the backdrop. Against a dark gray or black background, pure black clothing can make your torso disappear, leaving a floating head. Ask your photographer about the background color before you finalize your outfit, and bring a backup that contrasts with it.
How to Pose for Corporate Headshots
The most flattering corporate headshot pose starts with your body angled roughly 45 degrees to the camera, not square to it. Turn your shoulders slightly, shift your weight to your back foot, and angle your face back toward the lens. This creates natural dimension and prevents the stiff, passport-photo look that plagues many business portraits.
Your hands belong in plain sight or out of frame. Crossed arms can read as defensive, while hands buried in pockets create awkward bulges. Rest one hand lightly on your lapel or simply let both arms hang naturally below the frame line. Practice your facial expression in a mirror beforehand: a genuine smile engages your eyes, not just your mouth, and eye contact with the lens should feel confident rather than intense.
Posture is the single fastest way to look more professional in a photo. Sit tall with your shoulders back and down, and imagine a string pulling the crown of your head toward the ceiling. This subtle adjustment defines your jawline and projects the kind of quiet confidence that clients want to see.
Hair, Skin, and Grooming Prep
Schedule your haircut at least five to seven days before your corporate headshot session. Fresh cuts often look too sharp and unnatural, and this buffer gives your hair time to settle into its normal shape. Arrive with clean, dry hair styled exactly as you wear it for work, since the portrait should reflect your everyday professional appearance.
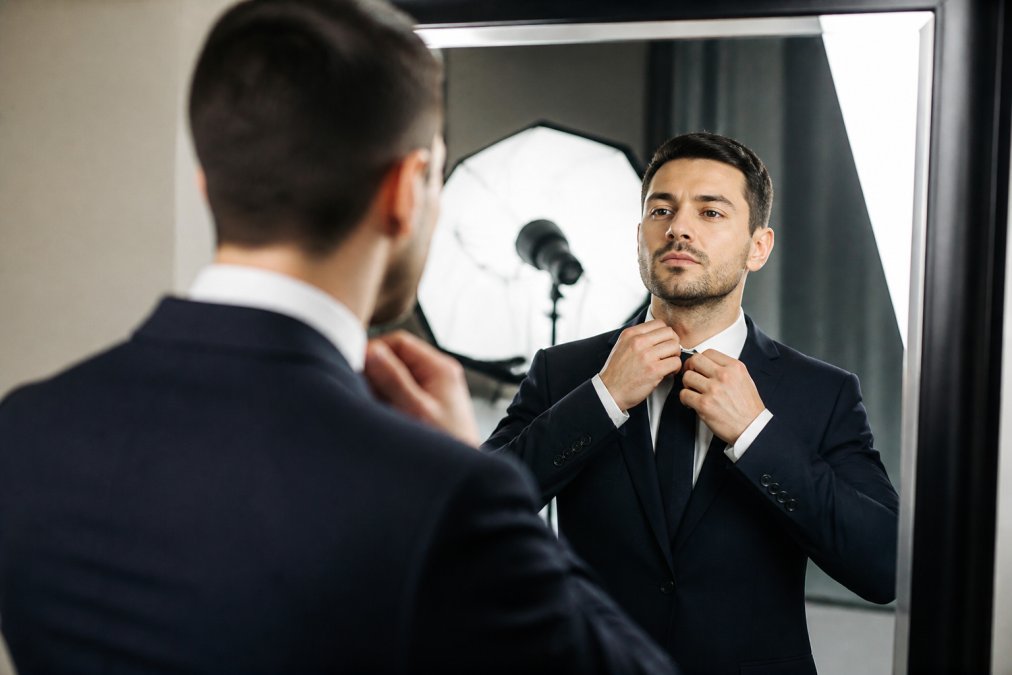
Skin preparation matters more than most people realize because studio lighting amplifies shine. Wash your face with a gentle cleanser the morning of your shoot and apply a mattifying moisturizer if you have oily skin. Men should shave close or trim facial hair neatly within a few hours of the session, and women should keep makeup lighter than usual since professional lighting washes out heavy application. Bring blotting papers and a small powder compact to your session for touch-ups between shots.
How Long Does a Corporate Headshot Session Take
The on-camera time is only half the story. A standard individual session runs 15 to 30 minutes, but the full preparation and delivery cycle spans several days (ppa.com). Understanding the entire timeline, from booking to final file delivery, prevents frustration and ensures you get usable images.
The Session Timeline Breakdown
A typical 20-minute individual session breaks down roughly as follows:
- First 5 minutes: Camera setup, lighting check, and a quick consultation on your preferred side and expression.
- Next 10 minutes: Active shooting. The photographer will direct you through a series of poses and expressions, capturing 20 to 40 frames.
- Final 5 minutes: Immediate proof review. You will select the top contenders, and the photographer will note any retouching requests.
For team sessions with 15 or more people, plan on a half-day booking. The photographer needs time to reset lighting between individuals and maintain consistent camera settings across the group. A common pattern is to photograph 4 to 6 people per hour, depending on how much direction each person requires.
The Post-Session Workflow: What Happens After You Leave
Most guides stop at the shutter click, but the post-session workflow determines the quality of your final files. After your session, the photographer typically performs a first-pass cull to remove closed eyes, blurry frames, and unflattering angles. You will then receive a proof gallery, usually within 24 to 48 hours, and you will select your final images.
When selecting proofs, do not just look at your smile. Zoom in on the details: Is your collar straight? Are your shoulders relaxed? Is the background free of distracting elements? These are the details a retoucher can fix, but it is easier to start with a strong base image.
Communicating with Your Retoucher
If your package includes retouching, communicate your preferences clearly. A common pattern is to request “natural retouching”, removing temporary blemishes, softening harsh shadows, and evening out skin tone, while preserving permanent features like wrinkles, scars, and moles. Over-retouching can make you unrecognizable, which defeats the purpose of a professional portrait. Most practitioners find that a brief written list of specific requests yields better results than a vague instruction to “make me look good.”
Digital File Usage and Technical Specs
Before your session, ask your photographer what file formats and resolutions you will receive. For LinkedIn and most social media, a 400×400 pixel image at 72 DPI is sufficient (linkedin.com). For your company website’s team page, you will want a larger file, typically 800×1000 pixels or higher, to accommodate responsive design. For print use, such as a brochure or annual report, you need a minimum of 300 DPI at the final printed size (printing.org).
The most versatile deliverable is a high-resolution JPEG (at least 3000 pixels on the longest side) alongside a smaller web-optimized version. Some photographers also provide a PNG with a transparent background, which is useful if your company places headshots on colored or patterned website sections. Ask about aspect ratios: a square crop works for LinkedIn, but your company’s website may use a 4:5 or 16:9 crop, and you want a file that can be cropped without losing resolution.
The preparation you complete before your session has a greater impact on the final image than the photographer’s technical skill. Wardrobe, grooming, and rest determine 80 percent of your result. But the post-session workflow, selecting proofs, communicating with your retoucher, and understanding your file specs, determines whether those results actually work across your digital and print touchpoints.
Mental Preparation and Confidence
Most people feel anxious in front of a camera, and that tension shows up as stiffness in the shoulders and a forced smile. The fix is psychological preparation, not just physical. Spend a few minutes before your session reviewing the purpose of your corporate headshots: this image represents your expertise and the value you bring to clients, which reframes the experience from being judged to being presented.
Communicate with your photographer about what makes you uncomfortable. A professional will adjust their direction style, give you specific cues rather than vague instructions, and show you proofs early so you can course-correct. Many photographers use a simple technique: look away from the lens, relax your face completely, then turn back and smile on their count. This produces a natural expression because you are smiling at the moment of the shot, not holding a pose.
Common Mistakes to Avoid
The most common corporate headshot mistakes happen before the photographer arrives. Wearing white or pure black without considering the background causes exposure problems, and overly trendy clothing dates your portrait within a year. Glasses wearers should decide whether to keep them on for a consistent look or remove them to avoid glare, then commit to that choice rather than switching between shots.
Skipping the trial run is another frequent error. Take a few smartphone photos in natural light wearing your chosen outfit to check how the colors read against your skin tone and whether the fit looks intentional. Finally, do not underestimate the value of sleep and hydration the night before; puffy eyes and dull skin are difficult to fully correct in retouching without looking artificial.
Your Headshot Prep Checklist
| Preparation Area | Key Action | Timing |
|---|---|---|
| Wardrobe | Select solid colors, confirm fit, bring backup option | 3-5 days before |
| Grooming | Schedule haircut, plan shave or trim | 5-7 days before |
| Skin | Establish cleansing routine, test makeup | Night before |
| Hydration | Increase water intake, limit alcohol and salty food | 48 hours before |
| Sleep | Aim for a full night of rest | Night before |
| Mental prep | Review purpose, practice expressions | Morning of |
Do not experiment with new skincare products, a drastic haircut, or an untested makeup routine in the week before your session. Reactions and adjustments take time to resolve, and your headshot session is not the place to discover a product does not work for you.
A professional corporate headshot is an investment in how your business presents itself to the world. When you arrive prepared, you give your photographer the raw material needed to deliver portraits that build trust and reinforce your corporate identity. At BLACKWATER Promotions, our collaborative approach means we guide you through wardrobe, posing, and expression so the final images feel authentic to who you are. Contact our team to schedule your session and see how professional preparation translates into portraits you will actually want to use.
Frequently Asked Questions
What colors should you avoid wearing for a corporate headshot?
Avoid bright neons, busy patterns, and very dark colors like black or navy head-to-toe, which can blend into dark backgrounds. Pure white can blow out highlights. Stick to solid, muted tones like medium blue, gray, or earth tones that flatter your skin tone and keep the focus on your face.
How far in advance should I prepare for a professional headshot session?
Start wardrobe selection about one week before your session. Schedule a haircut 5-7 days prior so it settles naturally. In the 48 hours before your shoot, prioritize sleep, hydration, and avoid alcohol to reduce puffiness. Have your outfits steamed and ready the night before.
How can I look more natural and less stiff in professional photos?
Practice poses in a mirror beforehand to find your best angles. During the session, focus on thinking of a positive interaction or a specific moment that makes you smile genuinely. Listen to your photographer’s direction, take deep breaths, and roll your shoulders back to release tension before each shot.
What makes a headshot look unprofessional to recruiters and clients?
Poor lighting, cluttered backgrounds, casual clothing like t-shirts, and distracting accessories make headshots look unprofessional. An outdated photo that no longer resembles you also damages trust. Ensure your image is recent, sharp, well-lit, and features appropriate business attire that matches your industry.