

Professional Food Photography for Social Media: 2026 Guide
Table of Contents
- Why Professional Food Photography for Social Media Drives Engagement
- Food Photography Lighting Techniques That Work in Any Setting
- Food Styling Tips for Social Media: Composition, Props, and Color
- Vertical vs. Horizontal: Choosing the Right Aspect Ratio
- Smartphone Camera Settings for Professional-Quality Food Photos
- AI-Assisted Editing and Post-Processing Workflows
- Budget-Friendly DIY Studio Setups for Restaurant Marketing
- Hiring a Professional Food Photographer: When and How
- Frequently Asked Questions
Last Updated: September 18, 2026
Why Professional Food Photography for Social Media Drives Engagement
Professional food photography for social media is the practice of capturing menu items and dishes with deliberate lighting, styling, and composition so they perform on platforms built for visual scanning. It matters because a phone snapshot and a styled shot of the same plate produce wildly different results in a feed. At BLACKWATER Promotions, we see this constantly with clients: the food is excellent, the photo is not, and the engagement gap shows it.
Here’s the uncomfortable truth most guides skip. Great food photography is not about owning expensive gear. It is about controlling light, styling the plate, and framing for the platform you’re posting to. Get those three right and a smartphone can outperform a neglected DSLR every time.
That’s the theory. Here’s what actually happens when you ignore it.
The most common mistake is photographing food under overhead tungsten restaurant lighting, which casts a yellow-orange color cast that no filter fully fixes. Shoot near a window or set up a dedicated light source instead, or your menu photos will look dated next to competitors’ images.
Social platforms reward content that stops the scroll. According to Sprout Social’s social media image size and engagement research, visual content consistently outperforms text-only posts, which is why restaurants that invest in consistent, well-lit imagery tend to see stronger engagement on the same dishes. The photo is the first impression. Everything else, the caption, the hashtags, the location tag, comes second.
Food Photography Lighting Techniques That Work in Any Setting
Light determines whether a dish looks appetizing or unappetizing. Nothing else in food photography lighting techniques matters more than the direction and quality of your light source.
Natural Light: Direction, Diffusion, and Time of Day
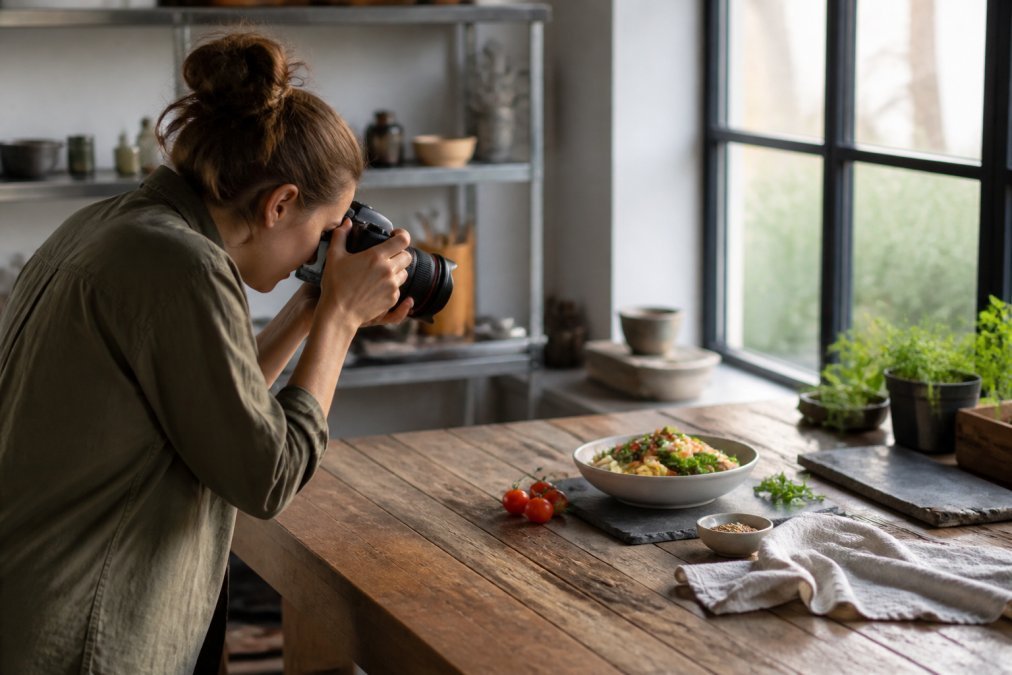
Natural light is the fastest route to professional-looking food photos, and it costs nothing. Position your dish beside a window, not directly in front of it. Side lighting reveals texture and creates gentle shadows that give food dimension. Overhead light flattens everything.
A common mistake is shooting at noon when sunlight is harsh and directional. Early morning and late afternoon light is softer and warmer. If you must shoot midday, diffuse the window with a sheer curtain or a sheet of parchment. That single step separates amateur snapshots from polished images.
Artificial Light Setups for Consistent Results
Restaurants that shoot after dark or in windowless kitchens need artificial light. A single large softbox or LED panel placed at a 45-degree angle to the dish mimics the directional quality of natural light. Add a white foam board on the opposite side as a bounce card to fill shadows.
The thing nobody tells you about artificial setups is that consistency beats perfection. Once you find a light position that works, mark it on the floor with tape and use it for every dish. Your menu will look cohesive instead of like it was shot by five different people.
Set your white balance manually instead of relying on auto. Auto white balance shifts between shots as the camera reads different colors on the plate, which is why so many restaurant photo sets have dishes that look like they were shot in different rooms.
Food Styling Tips for Social Media: Composition, Props, and Color
Food styling tips for social media come down to three decisions: what’s on the plate, what’s around the plate, and where the camera sits. Nail those and the image sells the dish before the reader finishes reading the caption.
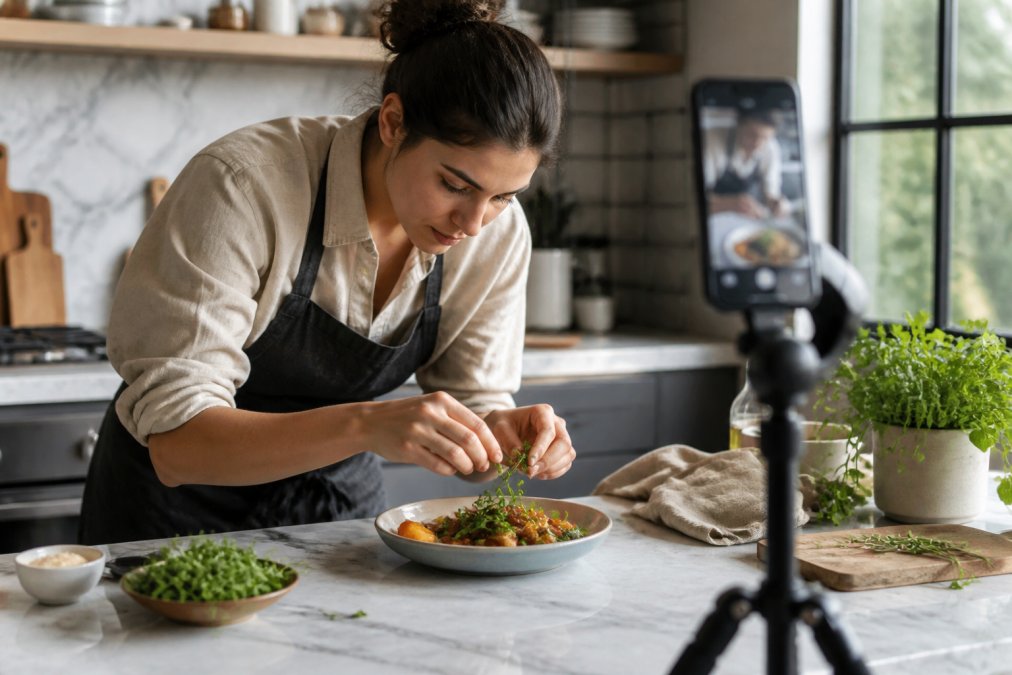
Start with the food itself. Fresh herbs, a drizzle of sauce, a dusting of spice, or a few scattered crumbs signal that the dish is real and recently made. Avoid anything that looks plastic or over-arranged. Real food has imperfection, and imperfection reads as authentic.
Plating and Prop Selection for Vertical Formats
Props should support the dish, not compete with it. Neutral surfaces like slate, marble, or weathered wood let the food carry the frame. Colored napkins, mismatched silverware, and busy patterned plates pull attention away from the subject.
For vertical formats, build the composition bottom-to-top. The dish sits in the lower two-thirds, with negative space above for text overlays or platform UI elements. That empty space is not wasted. It is where captions and stickers live on Instagram and TikTok.
Use the rule of thirds to position the focal point of the dish off-center. Leading lines from a fork handle or a napkin edge can guide the eye toward the food. Macro photography of a single detail, a melting cheese pull or a glossy sauce drip, works especially well as a secondary image in a carousel.
Vertical vs. Horizontal: Choosing the Right Aspect Ratio
Vertical wins on social. Horizontal wins on websites and menus. That’s the short answer, and it drives most of the format decisions a restaurant has to make.
The 9:16 vertical format dominates Stories, Reels, and TikTok. It fills the phone screen, which means your food occupies more visual real estate and demands more attention. The 4:5 aspect ratio is the sweet spot for feed posts on Instagram, offering more vertical space than a square without the extreme crop of a Story.
Horizontal 16:9 remains the right choice for website hero images, YouTube thumbnails, and printed menus. Shooting horizontal and cropping to vertical loses resolution and often cuts off the most interesting part of the plate.
| Format | Aspect Ratio | Best Platform | Why It Works |
|---|---|---|---|
| Vertical | 9:16 | Reels, TikTok, Stories | Fills the full phone screen |
| Portrait | 4:5 | Instagram feed | Maximum feed real estate |
| Square | 1:1 | Facebook, carousels | Safe across platforms |
| Horizontal | 16:9 | Website, YouTube | Matches desktop and video players |
The practical move is to shoot vertical first, then compose a separate horizontal frame if you need one. Never crop a vertical shot into a horizontal hero image. The composition will be wrong and the resolution will suffer.
Smartphone Camera Settings for Professional-Quality Food Photos
Modern smartphones are more than capable of professional food photography if you know which settings to control. The defaults are designed for snapshots, not styled dishes.
Turn off the flash. It flattens texture and creates harsh specular highlights on sauces and glassware. Instead, lock exposure by tapping and holding on the brightest part of the dish, then adjust the exposure slider down slightly. Slightly underexposed images retain more highlight detail than blown-out ones.
Use the telephoto or 2x lens if your phone has one. Wide-angle lenses distort the plate’s edges and make portions look larger than they are, which can mislead customers and damage trust. A 2x or 3x lens compresses the scene and produces more flattering proportions.
Set ISO as low as the light allows. High ISO introduces noise that becomes visible when the image is compressed for social platforms. If you’re shooting in low light, add a light source rather than pushing ISO higher.
The three settings that matter most on a smartphone are white balance, exposure lock, and lens choice. Master those and your phone photos will look consistent enough to run across an entire menu.
AI-Assisted Editing and Post-Processing Workflows
AI editing tools have changed post-processing for food photography more in the last two years than the previous decade. Most guides ignore this shift, which is a mistake.
The workflow that works: shoot in RAW if your phone supports it, run the image through an AI denoise and color correction tool, then finish with manual adjustments.
Budget-Friendly DIY Studio Setups for Restaurant Marketing
You do not need a studio to produce professional food photography for social media. A table near a window, a foam board, and a tripod will get you most of the way there.
Build a simple setup:
- A sturdy table positioned beside a large window
- A white foam board as a bounce card on the shadow side
- A sheer curtain to diffuse harsh light
- A phone tripod with a remote shutter to eliminate camera shake
- A neutral backdrop, a wooden board, marble tile, or a linen cloth
Shoot multiple dishes in one session. Once the light is set and the tripod is positioned, moving through five or six plates takes far less time than setting up five separate shoots. This is how professional studios keep production efficient.
Hiring a Professional Food Photographer: When and How
Hiring a professional food photographer makes sense when your menu changes seasonally, when you’re launching a brand campaign, or when the volume of content you need exceeds what your team can produce in-house.
Frequently Asked Questions
How much does a professional food photographer cost for social media content?
Pricing depends on deliverables, shoot duration, usage rights, and travel. Most photographers quote per project or half-day, with social media packages often including a set number of edited images and vertical crops. For a reliable estimate, request a custom quote based on your menu size and content calendar. BLACKWATER Promotions provides tailored proposals for restaurant and food industry clients.
What are the essential lighting techniques for professional food photography?
Start with natural light from a window, placed to the side or back of the dish to create texture. Use a white foam board or parchment paper as a diffuser to soften harsh shadows. For consistent results, a single artificial light with a large softbox works well. Adjust white balance manually to avoid color casts, and keep ISO low to reduce noise. These three setups cover most social media food shoots.
How does professional food styling impact social media engagement?
Styled food photos stop the scroll. A clean composition, complementary props, and vibrant color palette make dishes look appetizing, which increases saves, shares, and comments. Consistent styling builds a recognizable brand aesthetic that audiences return to. Simple choices like using negative space, a consistent background, and fresh garnishes can lift engagement without a big budget.
What cameras do food influencers use?
Many food influencers use high-end smartphones with manual camera apps, while others shoot with mirrorless cameras like Sony, Canon, or Fujifilm paired with a 50mm or macro lens. The choice depends on workflow and budget. Smartphone cameras handle social media resolution well, but a dedicated camera gives more control over aperture, depth of field, and low-light performance.